開発秘話
☆商品の詳しい説明は、
オフィシャルサイトにて。
☆こんな方に
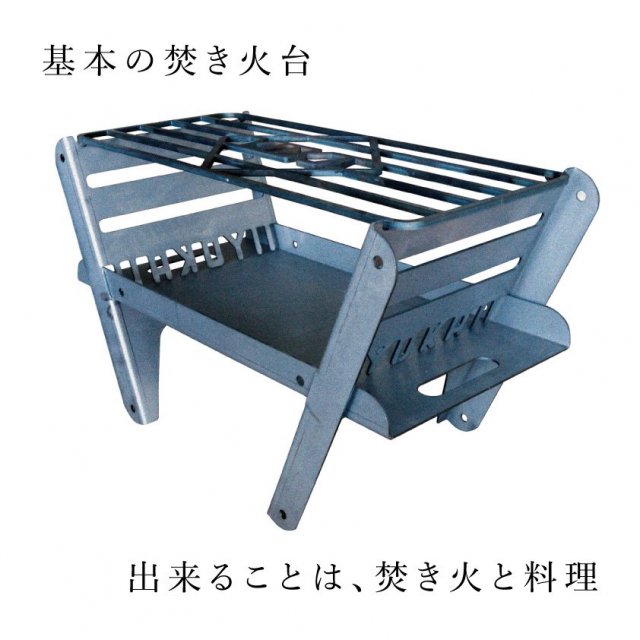
・焚き火も料理もしたい。そして、軽いのが良い
・メッシュ底の焚き火台が欲しい
・オーブン調理にチャレンジしたい(要ダブルパン)
こんなに形が変わるとは…YOKAの3台目の焚き火台の本製品。企画当時、軽量焚き火台ブームといって良い状況で、YOKAにもたくさんの「御社の焚き火台で、軽量のものは無いのか?」というお問い合わせをいただいていました。
僕自身は、自分がキャンプに行く際の焚き火台はCOOKING FIRE PIT SOLOで満足していたのですが、火床がメッシュの焚き火台を使う機会があり、その燃え方の違いに面白みを感じまして。いっちょ作ってみるか、と企画し始めました。
軽量焚き火台としてよく見かけるものがステンレス製だったので、それに倣ってステンレスで企画し始めたのですが、ステンレス製品を日本で作るとどうにも高くなってしまう。
で、テントを作ったことがきっかけでつながった中国の会社に問い合わせたところ、製造可能というお答えをいただき、中国で作ることを念頭に企画を進めていきました。
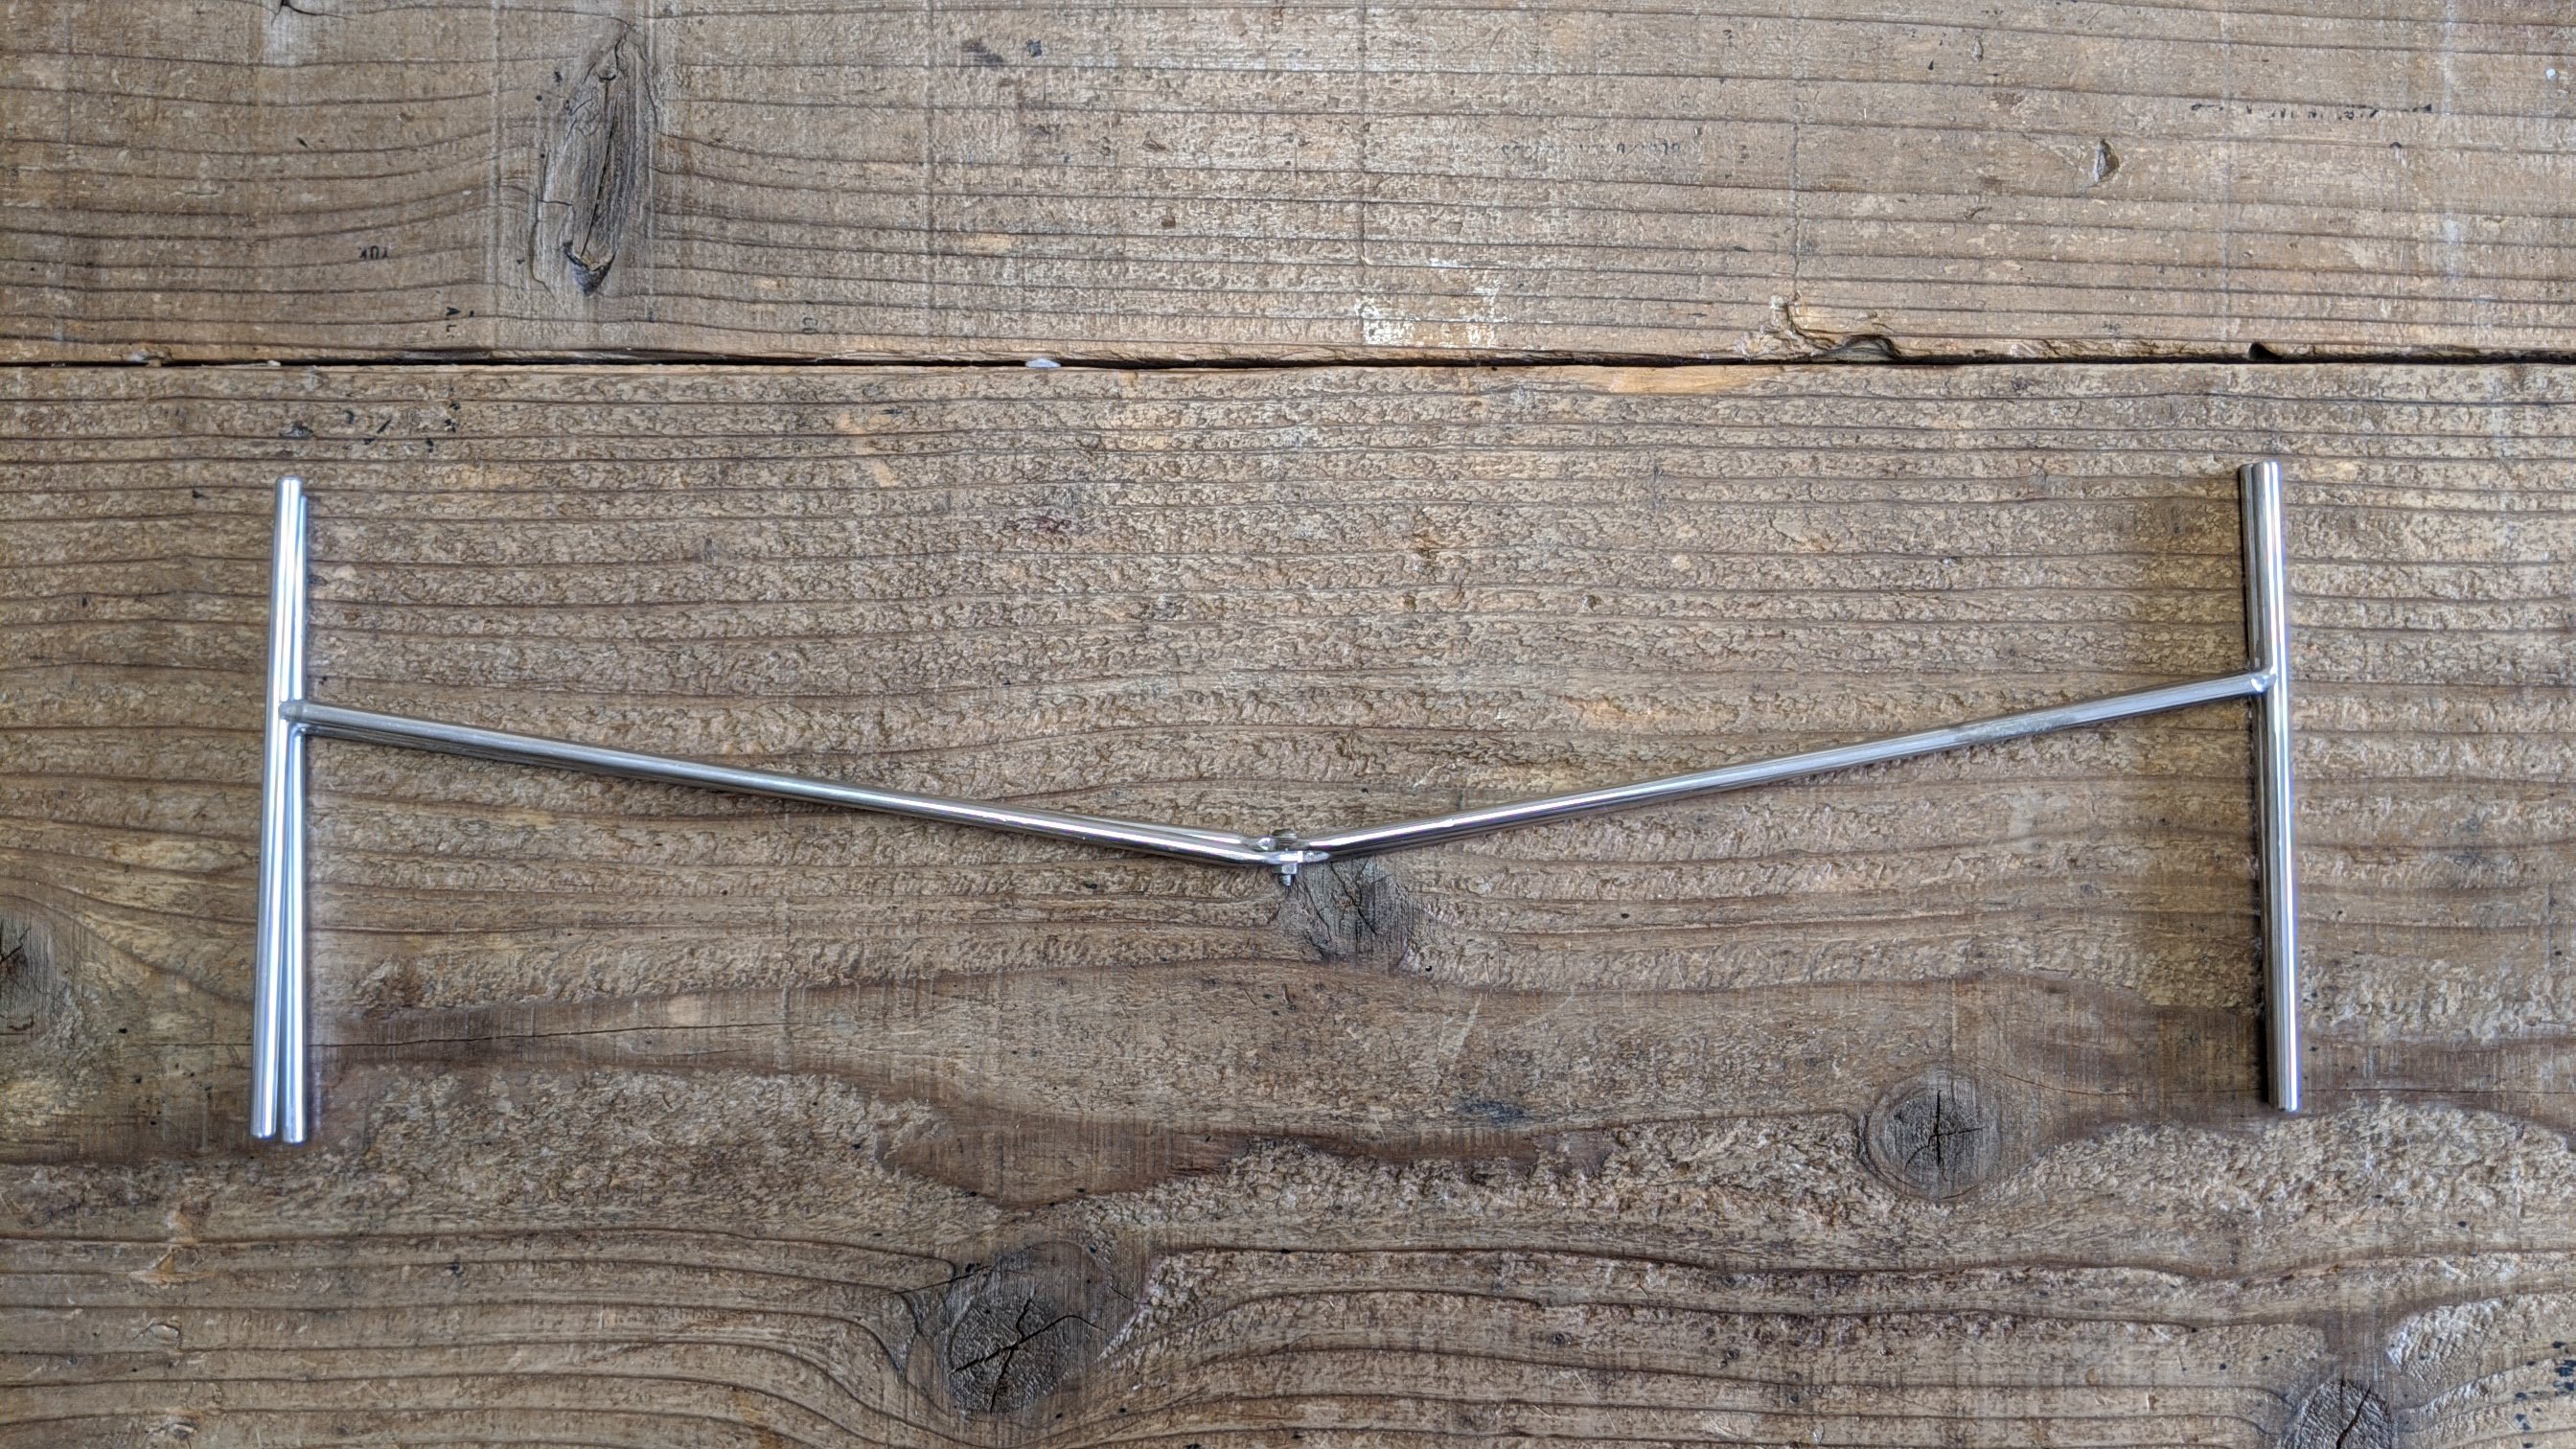
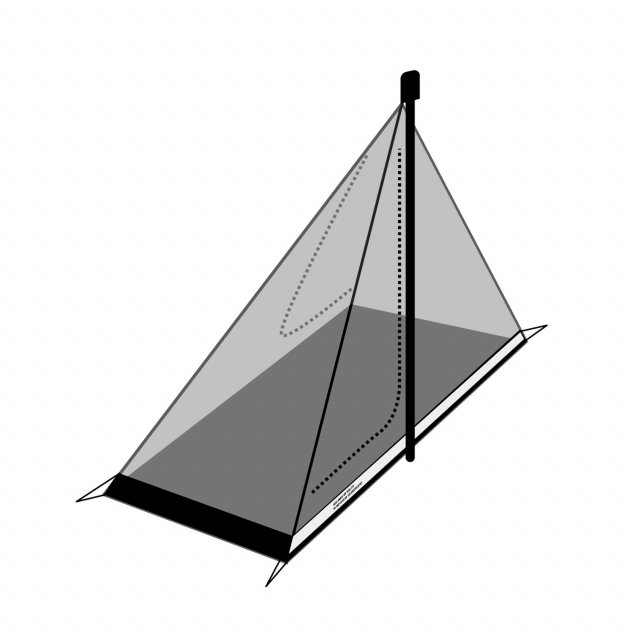
最初に考えていたのは、こんな形。
一見現在の製品と変わらないように見えますが、よく見ると、全体が金属の丸棒でできています。本体は上からみるとXの形に組み合わされ、真ん中の連結部分を中心にパタンとたためて薄くなるという方式。
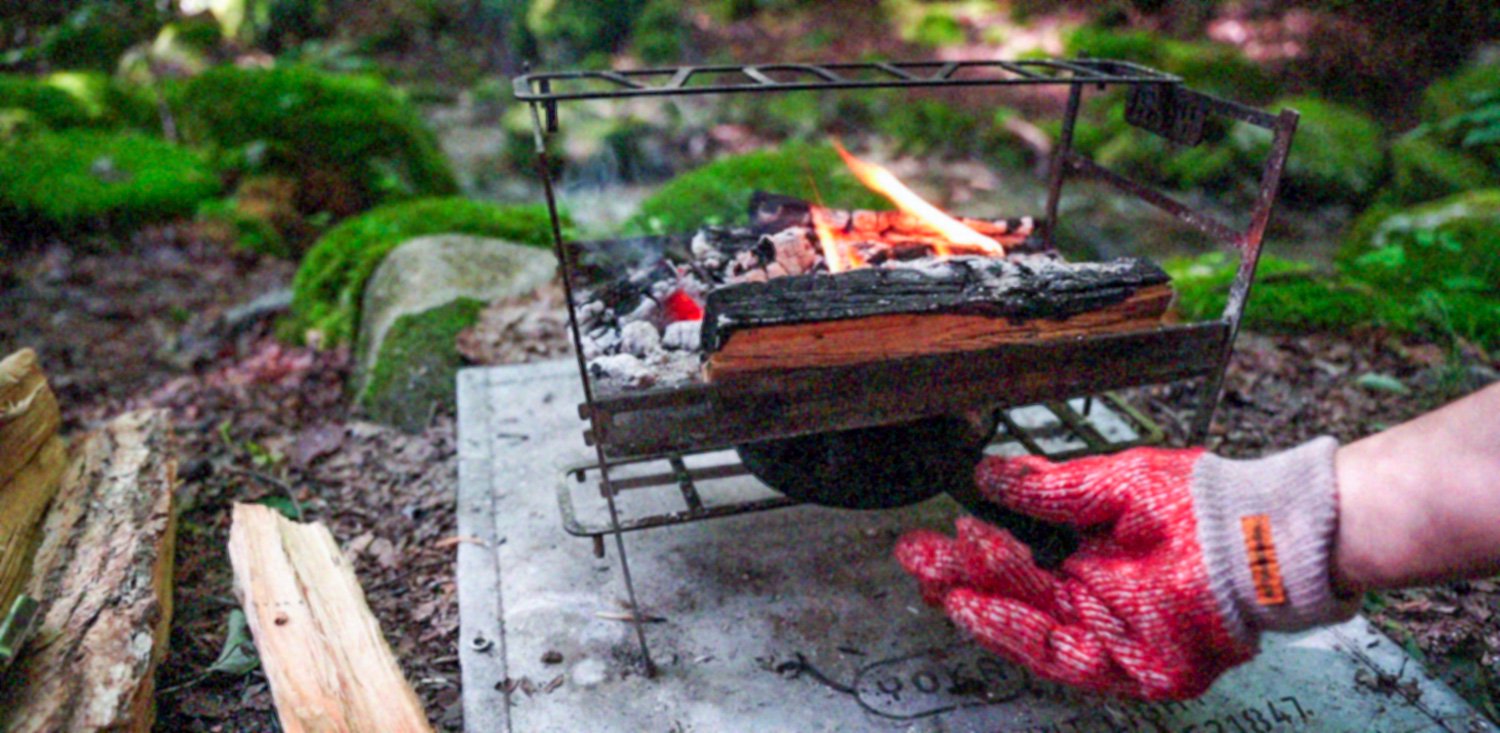
これはこれで方式的にはとても良かったのですが、何度試作しても良いクオリティになりません。それには構造的な問題もからんでいまして、「溶接は手作業なのでどうしてもブレが出る」+「真ん中の折りたたみ部分に熱がかかり、変形もする」という要素が重なり、4つの脚がちゃんと接地してくれないのです。どうしたものかと悩んだ末、一旦この丸棒での制作は無し(!)に。
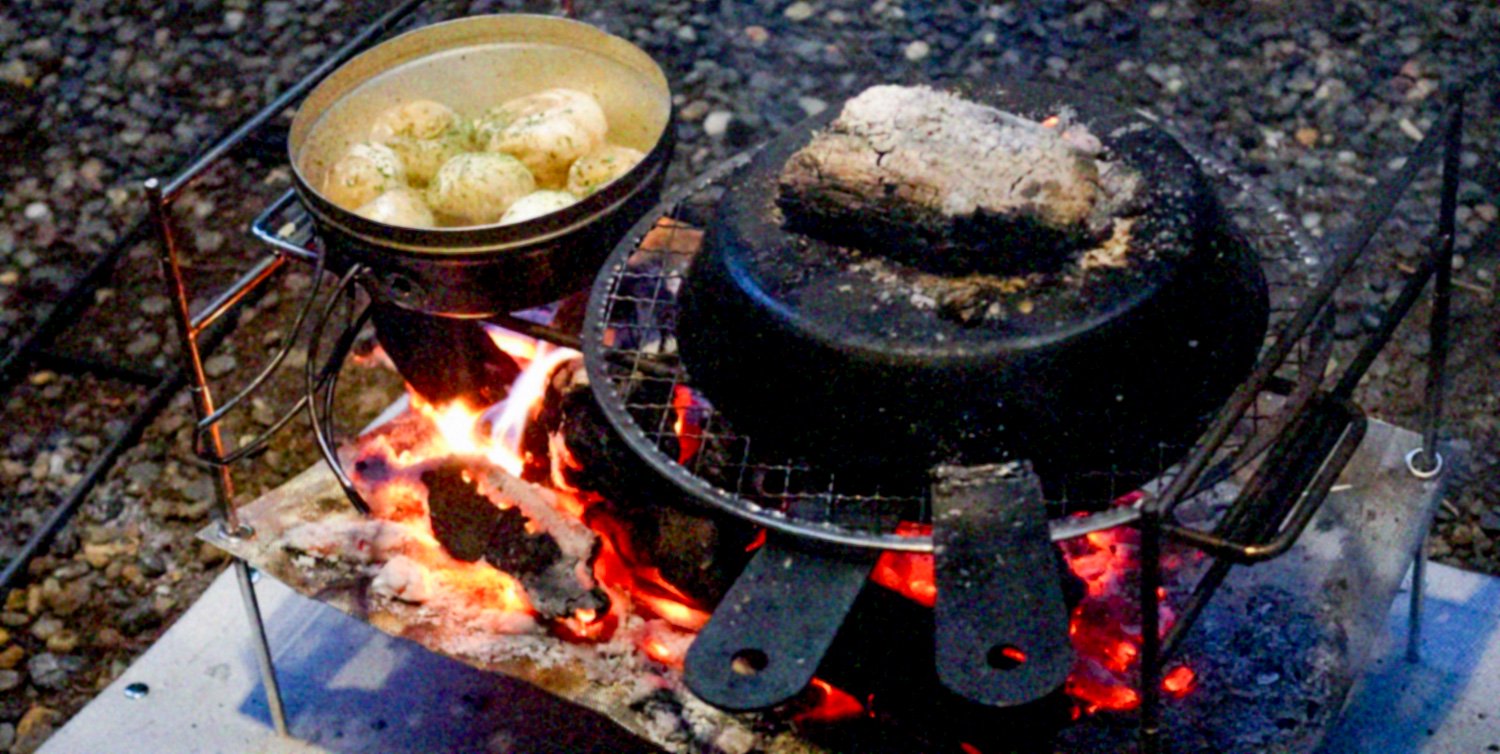
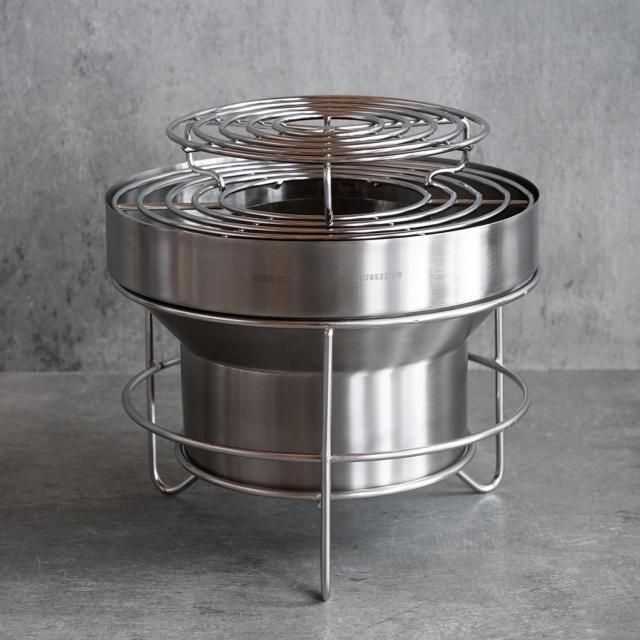
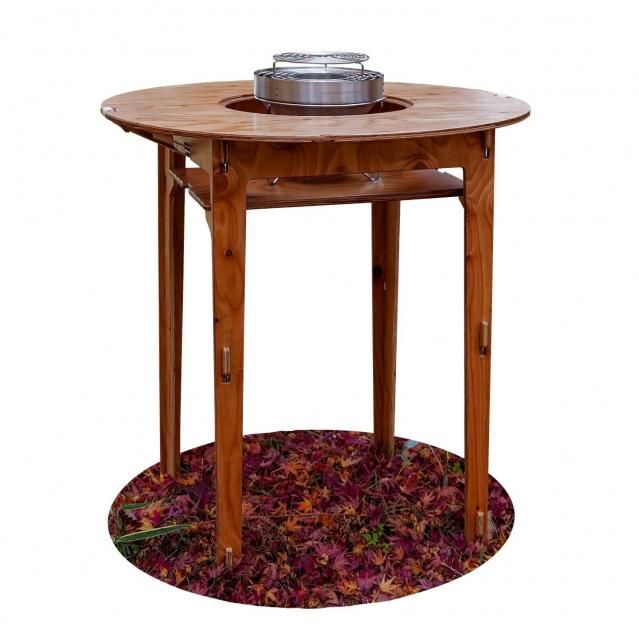
家具と焚き火台で培った「金属板のレーザーカットで作る」という方向に舵を切りました。レーザーカットで作るということは、もともとのCOOKING FIRE PITに近くなること。「火床の下にスキレットをいれることで上火調理ができる」ということが、これを作ってから発見されたのですが、その機能も最初から取り込むことにしました。
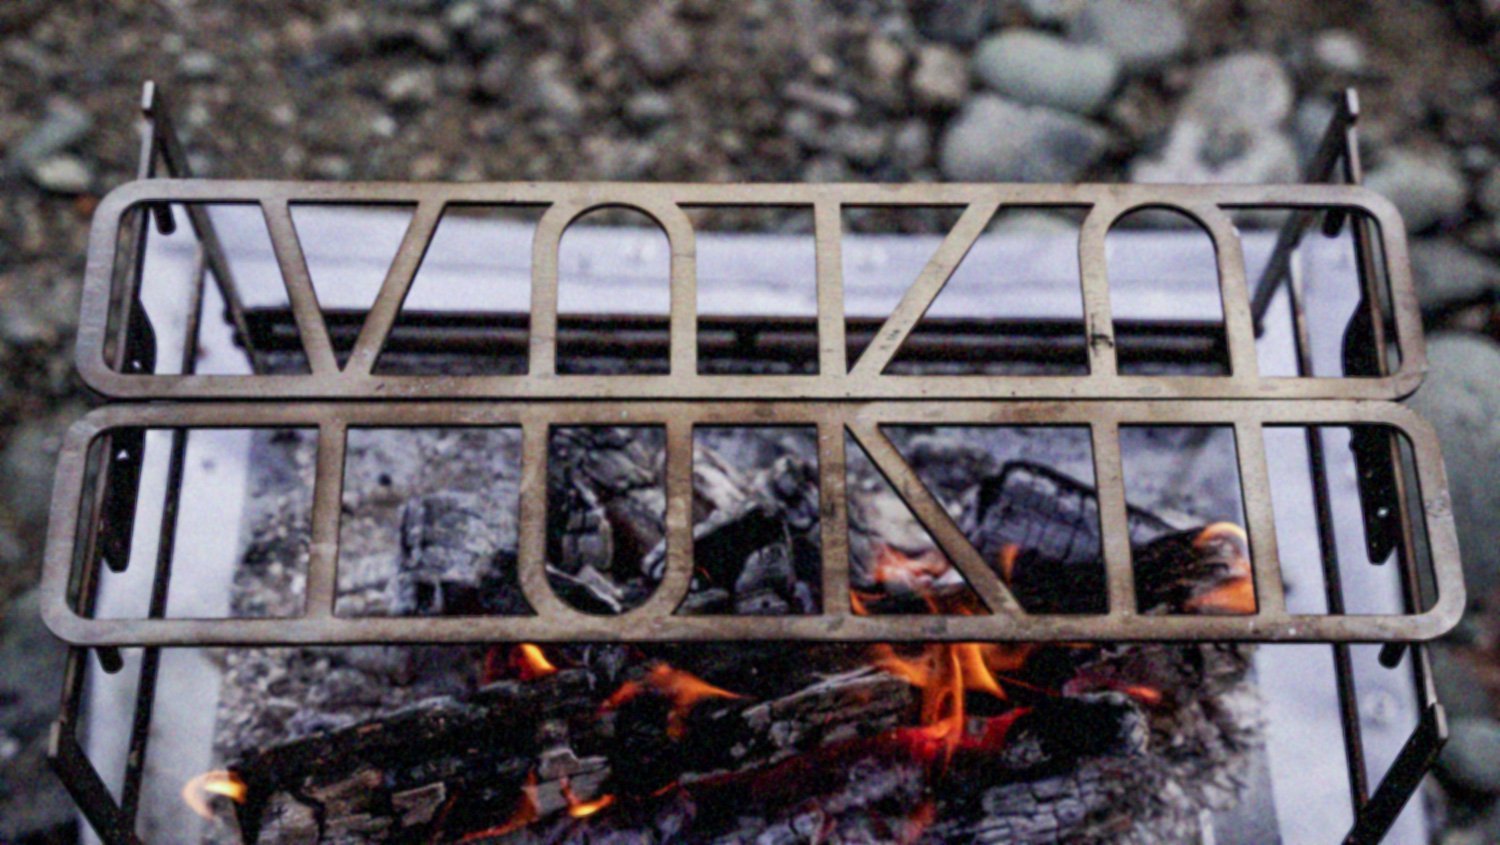
かじを切ったあと、この方向でうまくいっていたのですが、1つ悩みどころが発生。今回のものでは、前までの焚き火台と変化をつけたいという思いから、ゴトクを2分割するアイデアで進めていました。丸棒のときには全くもって諦めていた、ゴトクへのロゴ入れが、金属板を使う、となったことで再浮上。2分割されているゴトクの、どっちにロゴをいれるのか?両方同じものいれるのか?違う文言をいれるのか?YouTubeの視聴者さんも巻き込んで、様々な論争が巻き起こり…
そして、ある時点で「ロゴ自体を2分割する」というアイデアで突き抜けました。これは我ながらナイスアイデアだったと思います。
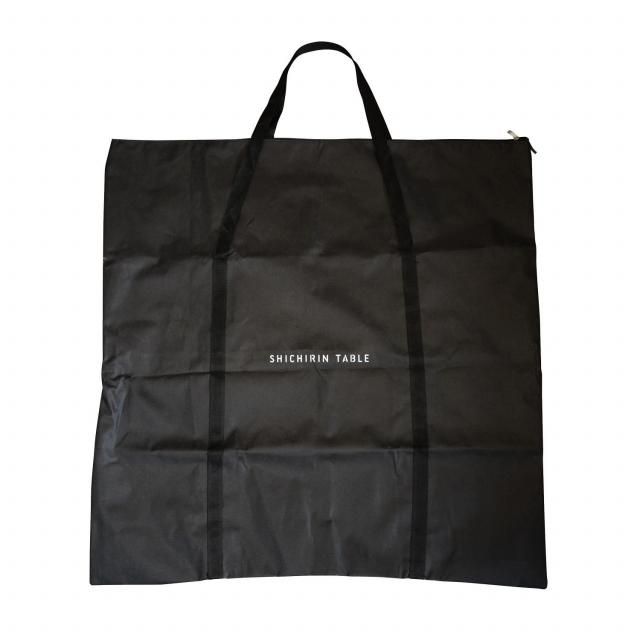
ちなみにその頃から焚き火台に加えて焚き火シートを使いましょう、ということも言われだすようになり、火床がメッシュなことからこちらも進めていたのですが、ある時点でこれを収納袋にするというアイデアも生まれました。
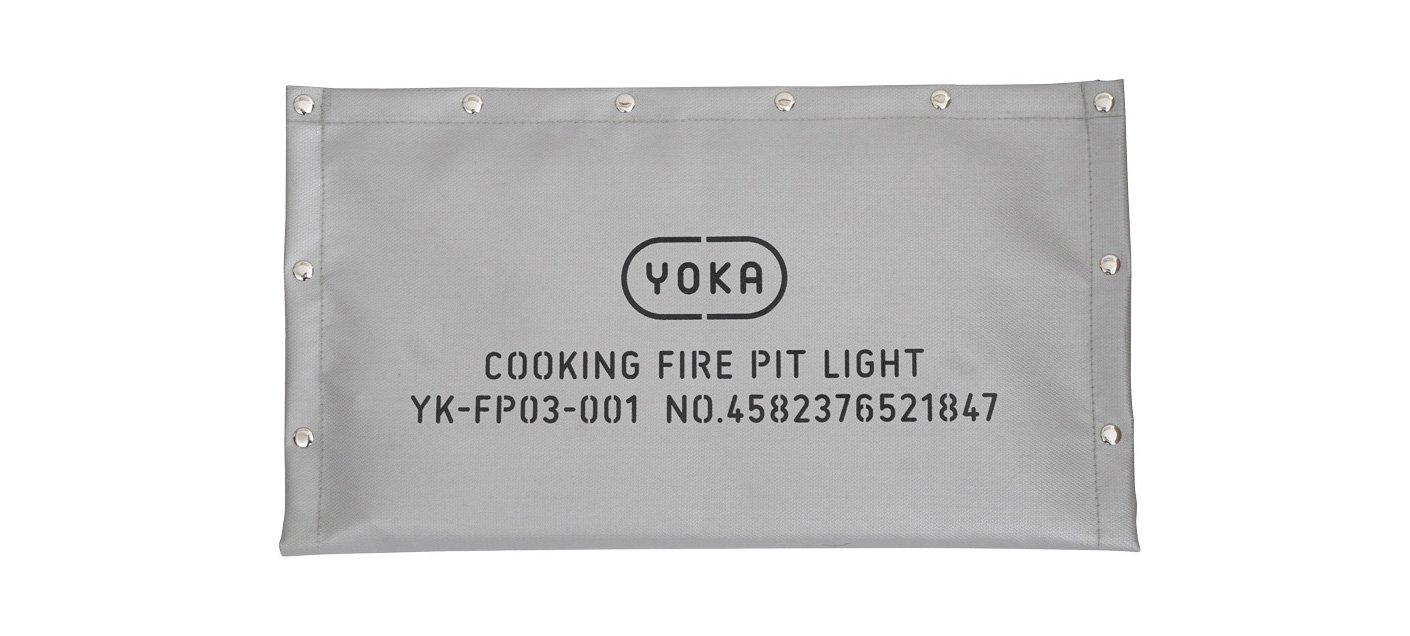
焚き火シートはグラスファイバーにシリコンコーティングしたものなのですが、シリコンには普通の印刷は乗りません。何度も試して、もう印刷は諦めようか、と思ったところで、シリコンにシリコンで印刷するという技術をもった工場が見つかり、今のシートがあります。
そんな、何かといろいろな技術の詰まったCOOKING FIRE PIT LIGHTなのでした。
---
初期試作のCOOKING FIRE PIT LIGHTを使った料理動画です。
The story behind it
☆ Full description on our
official site.
☆ For those who want:
・to do fire and cooking — and want it light
・a fire pit with a mesh base
・to try oven-style cooking (DOUBLE PAN required)
Who knew the shape would shift this much…This is YOKA's third fire pit. At the time, "ultralight fire pit" was practically a boom of its own, and we kept getting asked: "Don't you have a lighter version of yours?"
For my own camping I was perfectly happy with COOKING FIRE PIT SOLO, but I had a chance to use a mesh-bottom fire pit and found the way it burned genuinely interesting. So we figured — let's give it a go.
Most ultralight fire pits I'd seen were stainless steel, so we started planning around stainless. But making stainless products in Japan tends to balloon the price.
A Chinese company we'd connected with through tent production said they could manufacture it, and we shifted our planning toward production in China.
Our first concept looked like this.
At a glance it doesn't look very different from today's product, but look closely and the entire thing is made of round metal rod. Viewed from above the body is an X, hinged at the center, folding flat.
As an approach it was great. But no matter how many times we prototyped, the quality wouldn't come together. There was a structural reason: welding is by hand and inevitably has variation, plus the central folding hinge takes heat and deforms — together those meant the four legs wouldn't sit flat on the ground. After a lot of agonizing, we dropped the round-rod approach entirely (!).
We pivoted to "laser-cut metal sheet," the technique we'd built up through furniture and the original fire pit. Laser-cut would mean coming closer to the original COOKING FIRE PIT. The trick of "putting a skillet under the mesh to do top-heat cooking" had been discovered after building this — we decided to bake that function in from the start.
Once we'd pivoted, things were going well — except for one snag. Wanting this generation to feel different from the previous fire pits, we'd planned a two-piece grate. With the round-rod design, branding on the grate had been completely off the table; switching to sheet metal brought it back. Which half of the split grate gets the logo? Both halves the same? Or different wording? We even pulled in YouTube viewers, and the debate took off…
Then at one point we broke through with the idea of "splitting the logo itself across the two halves." Even I have to admit it was a nice idea.
Around then "use a fire mat under the fire pit" was starting to be advised, and since the bed is mesh we were developing one too. At some point we hit on the idea of also making it the storage bag.
The fire mat is glass fiber with a silicone coating, and ordinary printing won't take to silicone. After many attempts, when we'd nearly given up on printing, we found a factory with the technique of printing silicone onto silicone — and that's the mat we sell today.
A lot of different know-how is packed into COOKING FIRE PIT LIGHT.
---
A cooking video using an early COOKING FIRE PIT LIGHT prototype.
研发秘话
☆ 详细介绍请见
官方网站。
☆ 推荐给这样的您:
・既想生火又想做料理;并且要轻
・想要网状底的焚火台
・想挑战烤箱式料理(需配 DOUBLE PAN)
没想到形态变化如此之大……这是 YOKA 的第三只焚火台。立项之时,正值"轻量焚火台"风潮,YOKA 也收到大量"贵司有没有轻量款?"的询问。
我自己露营时用 COOKING FIRE PIT SOLO 已很满足,但偶然用过一次网底焚火台,对其燃烧方式之差异颇感兴趣。便想着——做一只看看吧。
市面常见的轻量焚火台多为不锈钢,于是仿照以不锈钢立案。然而在日本制作不锈钢产品成本高昂。
借由制作帐篷之机结识的一家中国公司答复可量产,于是改以"中国制造"为前提推进。
最初构思的形态是这样的。
乍看与现行产品并无大异,但仔细看,整体由金属圆棒构成。本体俯视为 X 形,以中央铰链为轴,可向内折叠收薄。
方式本身相当优良,但无论试做多少次,品质都难以达标。这背后有结构问题:焊接系手工,必有偏差;中央折叠处受热又会变形——两重叠加,四条脚便无法整齐着地。苦恼之余,我们干脆放弃了圆棒方案(!)。
转而回到我们在家具与焚火台中积累的"金属板激光切割"路线。激光切割意味着会更接近最初的 COOKING FIRE PIT。"将平底锅置于网底之下、由上方加热做料理"这一玩法是做了 COOKING FIRE PIT 之后才发现的,我们决定从一开始就将此功能纳入设计。
方向调整后进展顺利,但出现一个难题。本次想与既往焚火台拉开差异,遂以"两段式炉架"为思路推进。圆棒时代彻底放弃的"在炉架上印 logo",因改用金属板而再度浮现:两段式炉架,logo 印在哪一段?两段都印同样?还是分别印不同字?甚至将 YouTube 观众也卷入讨论,众说纷纭……
后来某一刻迸出"将 logo 本身一分为二"之灵感。这点连我自己都觉得是好主意。
彼时也开始流行"焚火台之外配焚火布"的说法,由于本品为网底,我们也在同步开发。某一刻又萌生"把它做成收纳袋"的想法。
焚火布以玻璃纤维为基,覆硅涂层。而硅胶不吃普通印刷。屡次试做,几欲放弃印刷之时,找到了"以硅胶印硅胶"工艺的工厂——便有了今日的焚火布。
汇集了多种工艺与故事,便是 COOKING FIRE PIT LIGHT。
---
使用早期 COOKING FIRE PIT LIGHT 试做品的料理视频。


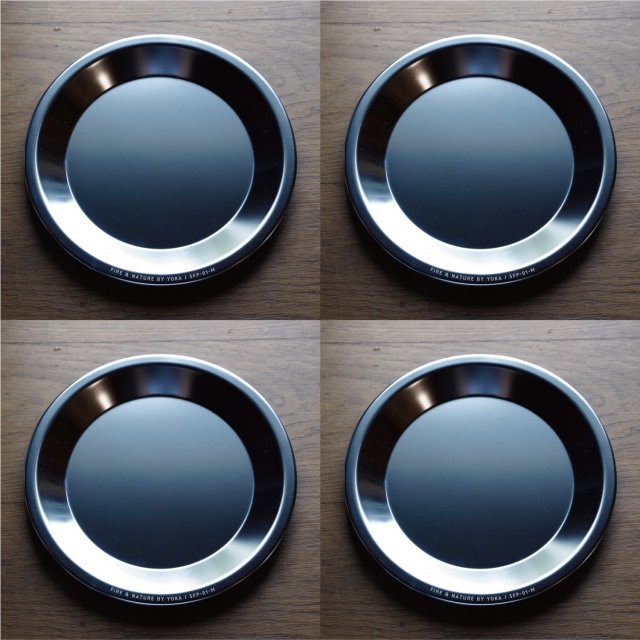


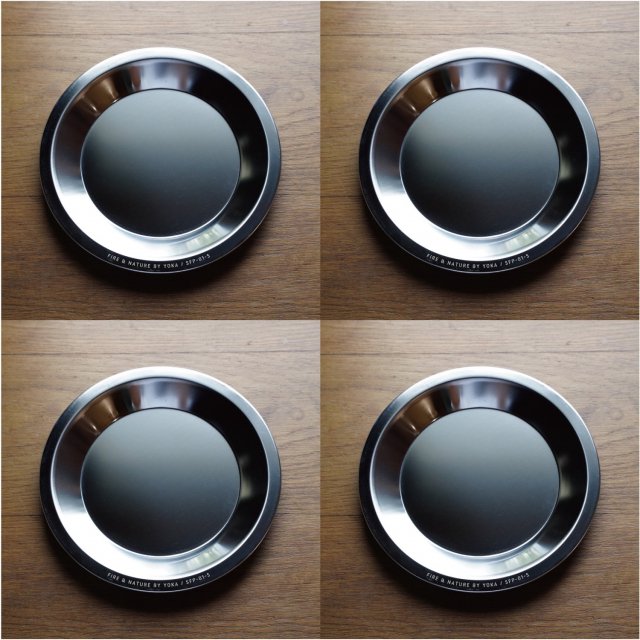


 <再入荷>STAINLESS FLAT PLATE M 4枚セット